Launch Node in Azure
Azure cloud profile
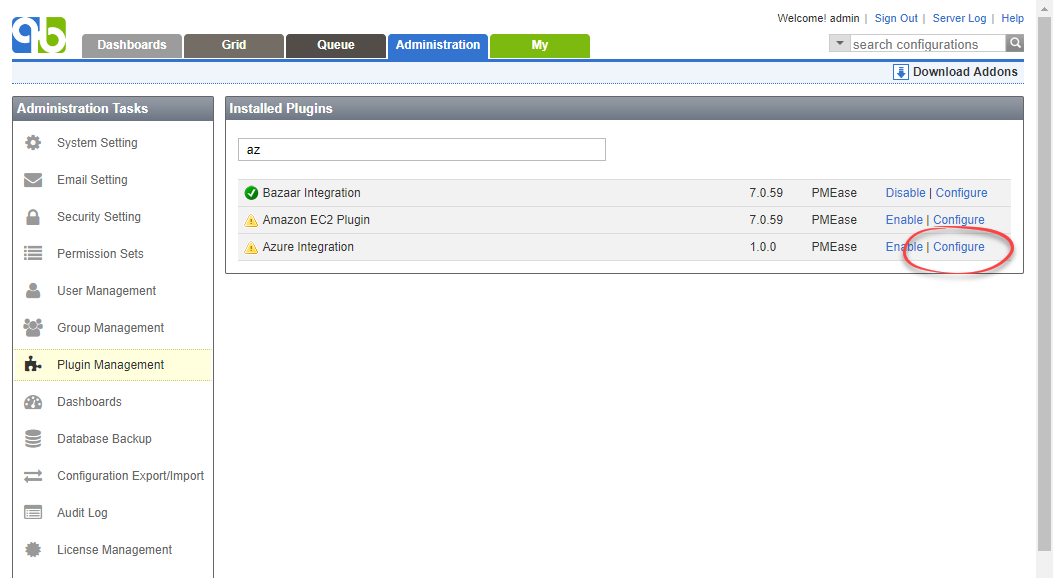
Cloud profiles rely on cloud providers to do its job. QuickBuild 8.0 ships with the Azure cloud provider. To use it, one has to enable the Azure plugin by providing an authentication file in Administration/Plugin Management page as demonstrated below:
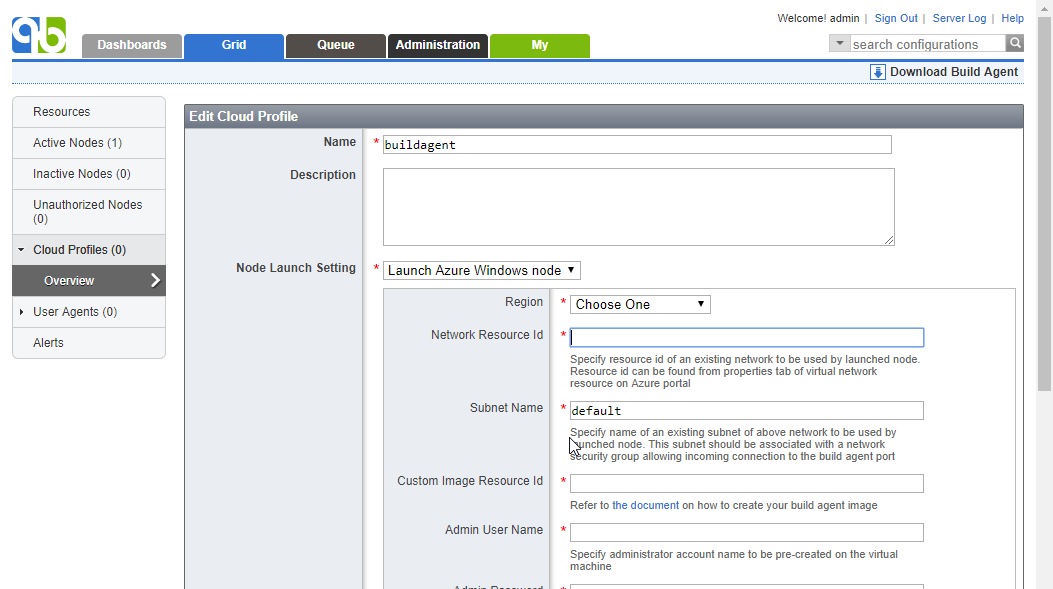
Then one can follow the cloud profiles guide to create cloud profiles using Azure launchers like below:
{#LaunchNodeinAzure-createbuildagentimage}
The Azure launcher requires either a custom Windows image or Linux image being equipped with build agent and your build environment.
Create custom Windows build agent image
- Manually launch a Windows virtual machine, and install Java Runtime Environment version 7 or higher on the machine. You may also want to install other software required by your build.
- Download QuickBuild build agent package from Grid page, and upload it to the virtual machine.
- Login to the machine and extract build agent package to your chosen agent installation directory.
- Edit file <agent install dir>/conf/wrapper.conf to define property wrapper.java.command to point to java binary if it is not in system path.
- Edit file <agent install dir>/conf/node.properties to configure QuickBuild server URL. You may also run <agent install dir>/bin/config.(bat|sh) to config node properties such as SSL setting.
- Edit file <agent install dir>/conf/attributes.properties to define necessary user attributes for the build agent.
- Open a command window as Administrator and run <agent install dir>/bin/agent.bat install to install agent as system service.
- Configure firewall rules of the machine to allow incoming connection to build agent port.
- Edit network security group associated with the machine from Azure portal to allow incoming connection to build agent port.
- Restart the virtual machine. After the system comes up, the build agent should be started automatically and will contact QuickBuild server to download necessary plugins. You may check file <agent install dir>/logs/console.log for the progress and possible errors.
- If agent starts up normally, you should be able to see this agent appears at unauthorized nodes list at grid page. Authorize the node and wait for a while to make sure it appears as active node in the grid.
- Follow this instruction to prepare the machine for image capture.
- Capture the virtual machine as a custom image from Azure portal.
Create custom Linux build agent image
-
Manually launch a Linux virtual machine, and install Java Runtime Environment version 7 or higher on the machine. You may also want to install other software required by your build.
-
Download QuickBuild build agent package from Grid page, and upload it to the virtual machine.
-
Login to the EC2 instance and extract build agent package to your chosen agent installation directory.
-
Edit file <agent install dir>/conf/wrapper.conf to define property wrapper.java.command to point to java binary if it is not in system path.
-
Edit file <agent install dir>/conf/node.properties to configure QuickBuild server URL. You may also run <agent install dir>/bin/config.sh to config node properties such as SSL setting. However this program requires GUI terminal, and if your console does not have that facility, you may run this program at your desktop to populate the node.properties, then transfer this file to launched instance.
-
Edit file <agent install dir>/conf/attributes.properties to define necessary user attributes for the build agent.
-
Edit file <agent install dir>/bin/agent.sh to uncomment below line and define RUN_AS_USER as the user specified when creating the virtual machine
#RUN_AS_USER=You may also specify other user here. However the user should have sudo permission without password prompt, as the build agent needs to access the file /var/lib/waagent/ovf-env.xml to get the grid token. Azure makes this file only accessible by root user. If you are using other users, make sure below command can run successfully as that user:
sudo -n cat /var/lib/waagent/ovf-env.xml -
Run sudo <agent install dir>/bin/agent.sh install to install agent as system service.
-
Edit network security group associated with the machine to allow incoming connections to agent port.
-
Restart the virtual machine. After the system comes up, the build agent should be started automatically and will contact QuickBuild server to download necessary plugins. You may check file <agent install dir>/logs/console.log for the progress and possible errors.
-
If agent starts up normally, you should be able to see this agent appears at unauthorized nodes list at grid page. Authorize the node and wait for a while to make sure it can come active.
-
Run waagent -deprovision to prepare the machine for image capture.
warningDo not add the +user option when run waagent , as otherwise the current user will be erased
-
Capture the virtual machine as a custom image from Azure portal.