|
QuickBuild2 Documentation
|
To publish NUnit
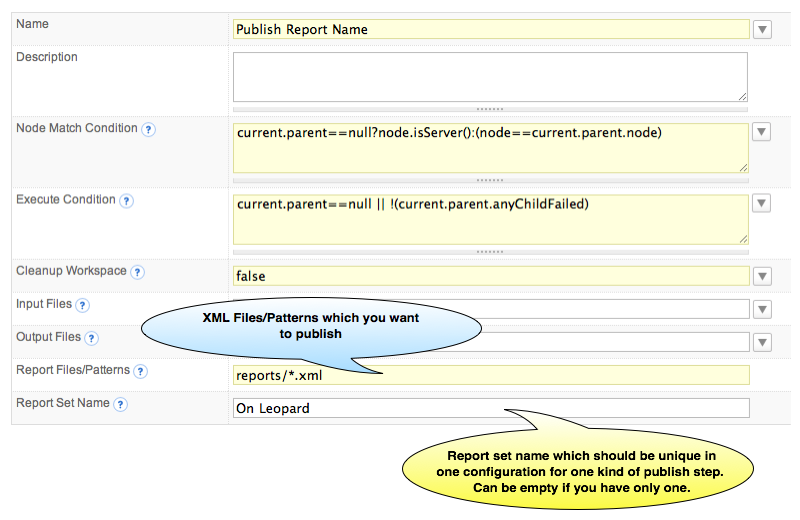
Generate NUnit ReportQuickBuild will NOT generate NUnit NUnit target in build.xml <target name="runUnitTests" description="Runs unit tests on specified dlls"> <echo message="Before running tests"/> <nunit2 failonerror="false" verbose="false"> <formatter outputdir="${nant.project.basedir}" usefile="true" type="Xml" extension=".xml"/> <test assemblyname="${compile.dir}\foo.bar.dll" appconfig="${compile.dir}\foo.bar.dll.config"/> </nunit2> </target> After adding the target, you can generate the NUnit report for your source code, and then you can tell QuickBuild to publish the results. Publish NUnit ReportJust like all other build reports, you add NUnit report by [adding a publish step] in a configuration. When you add publish NUnit Report step, the following screen will be displayed:
In source report files field, QuickBuild uses an enhanced Ant style file patterns to collect the reports, and the directory you specified is relative to the workspace directory. QuickBuild will analyze the NUnit reports and will generate the Overview/Details after each build, and it will also collect the statistics data from the reports automatically so that you can track the tests trends in the statistics tab. |