The latest version is v. 8, last edited on Mar 09, 2019
(view differences
|
)
<< View previous version | view page history | view next version >>
<< View previous version | view page history | view next version >>
Kubernetes cloud profile
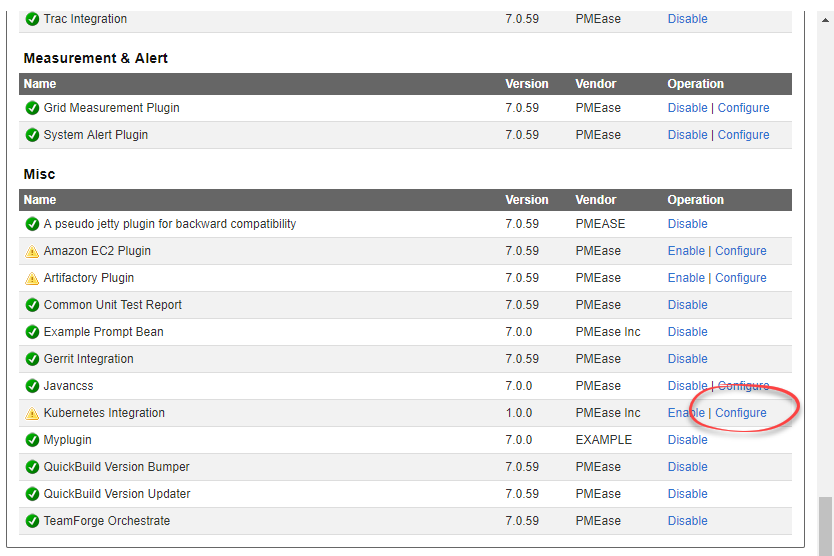
Cloud profiles rely on cloud providers to do its job. To use it, one has to enable the Kubernetes plugin by providing a configuration file in Administration/Plugin Management page as demonstrated below:
Then one can follow the cloud profiles guide to create cloud profiles using Kubernetes launchers like below:

Create build agent image
You should use your own docker image when define the Kubernetes profile. The image should be pre-configured with your build environment as well as QuickBuild build agent. Below is an example to create a Debian Linux image only with OpenJDK and build agent installed.
- Assume we have build agent installed at /path/to/buildagent. First run the build agent to make sure it can connect with the build server.
- Create file /path/to/buildagent/Dockerfile with below content:
FROM openjdk:8-jdk
ADD . /app
EXPOSE 8811
CMD ["/app/bin/wrapper-linux-x86-64", "/app/conf/wrapper.conf"]
- Change to directory /path/to/buildagent, and run below command
sudo docker build -t youraccount/qbagent:latest .
- Then publish the built image:
sudo docker push youraccount/qbagent:latest
With this example, you should use docker image youraccount/qbagent:latest when define the Kubernetes profile above