<< View previous version | view page history | view next version >>
Configure server to access Kubernetes cluster
On the machine running QuickBuild server, make sure that the OS account running QuickBuild service is set up appropriately so that it can run below command to connect to desired Kubernetes cluster:
kubectl cluster-info
Configure Kubernetes cloud profile
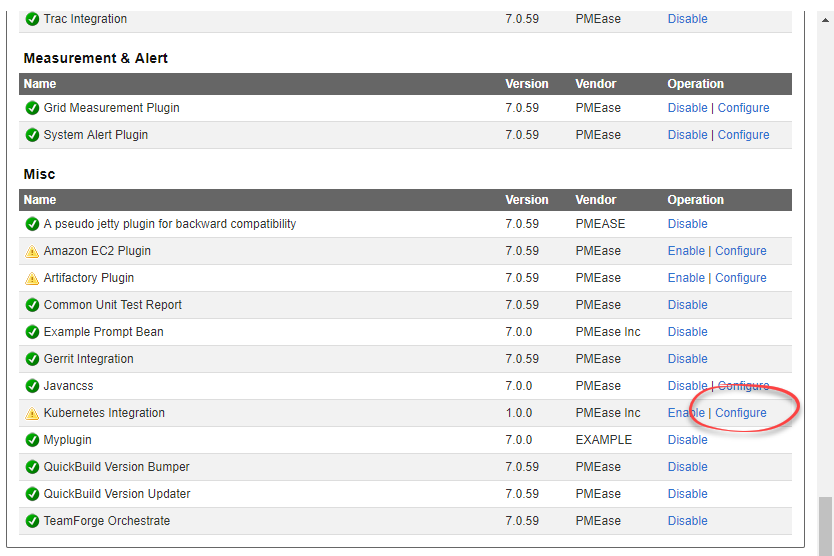
Cloud profiles rely on cloud providers to do its job. To use it, one has to enable the Kubernetes plugin by providing a configuration file in Administration/Plugin Management page as demonstrated below:
Then one can follow the cloud profiles guide to create cloud profiles using Kubernetes launchers like below:

Create build agent image
You should use your own docker image when define the Kubernetes profile. The image should be pre-configured with your build environment as well as QuickBuild build agent. Below is an example to create a Debian Linux image only with OpenJDK and build agent installed.
- Assume we have build agent installed at /path/to/buildagent. First run the build agent to make sure it can connect with the build server.
- Create file /path/to/buildagent/Dockerfile with below content:
FROM openjdk:8-jdk
ADD . /app
EXPOSE 8811
CMD ["/app/bin/wrapper-linux-x86-64", "/app/conf/wrapper.conf"]
- Change to directory /path/to/buildagent, and run below command
sudo docker build -t youraccount/qbagent:latest .
- Then publish the built image:
sudo docker push youraccount/qbagent:latest
With this example, you should use docker image youraccount/qbagent:latest when define the Kubernetes profile above