Purpose
This tutorial demonstrates how to set up QuickBuild to authenticate via Okta![]() using SAML protocol
using SAML protocol
Assumptions
- QuickBuild is accessed via https://build.example.com

Steps
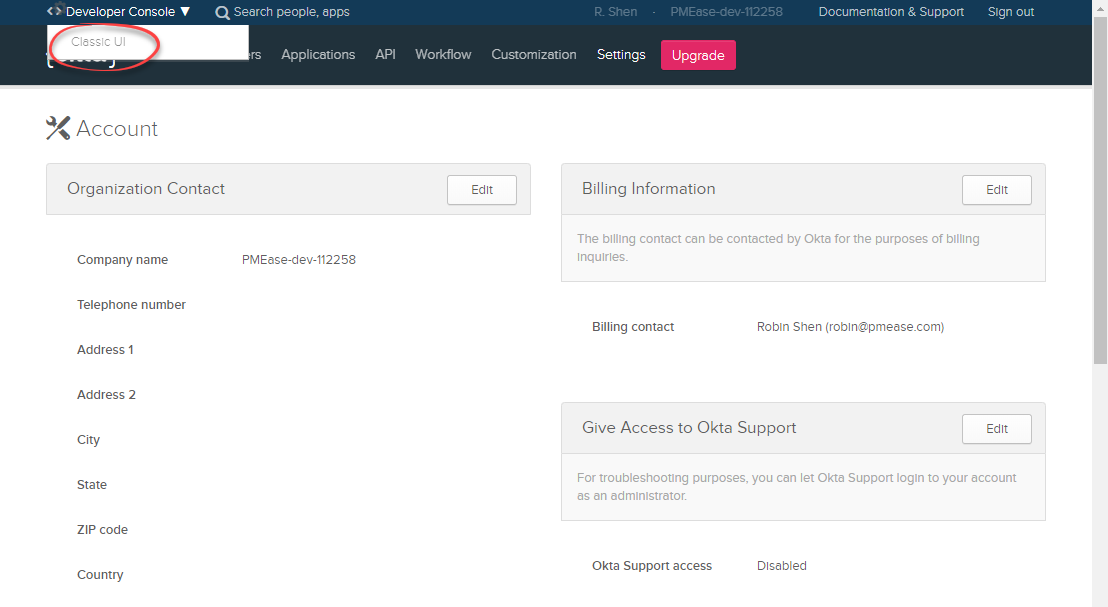
- Login to your organization account at Okta, and switch to Classic UI from Developer Console
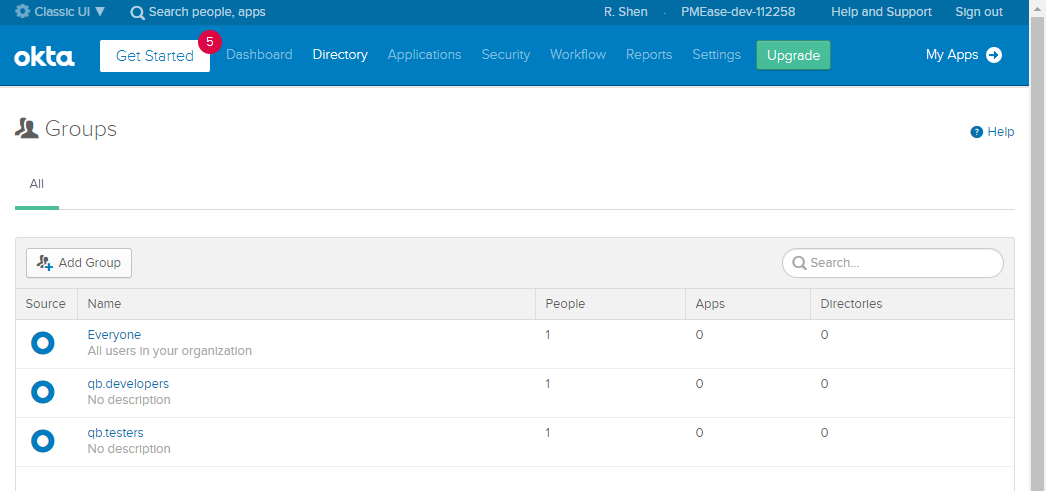
- Add appropriate groups for QuickBuild, for instance qb.developers and qb.testers, and add your current Okta account into these groups
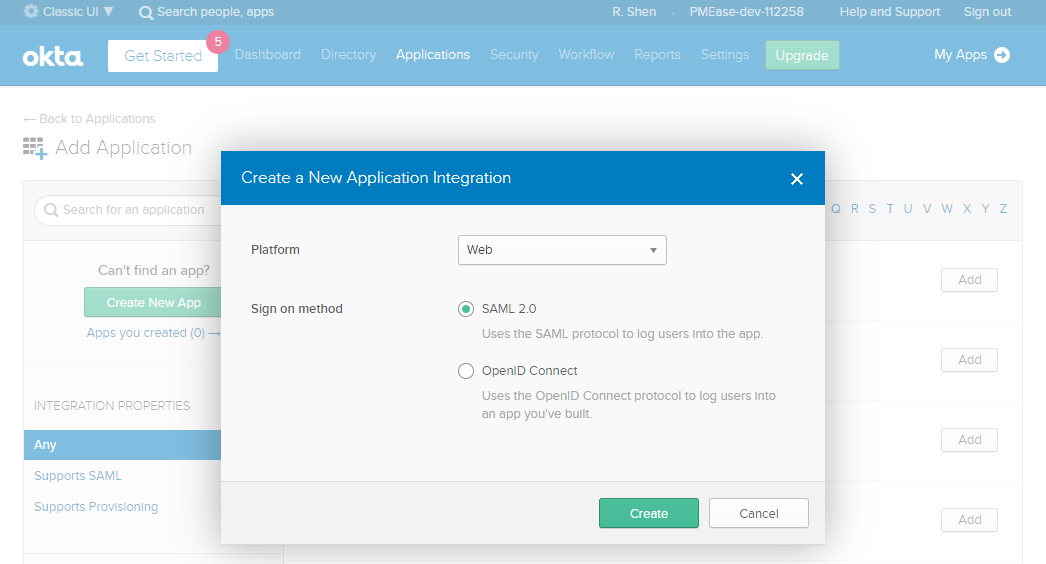
- Create new application in Okta, with platform being Web and sign in method being SAML 2.0:
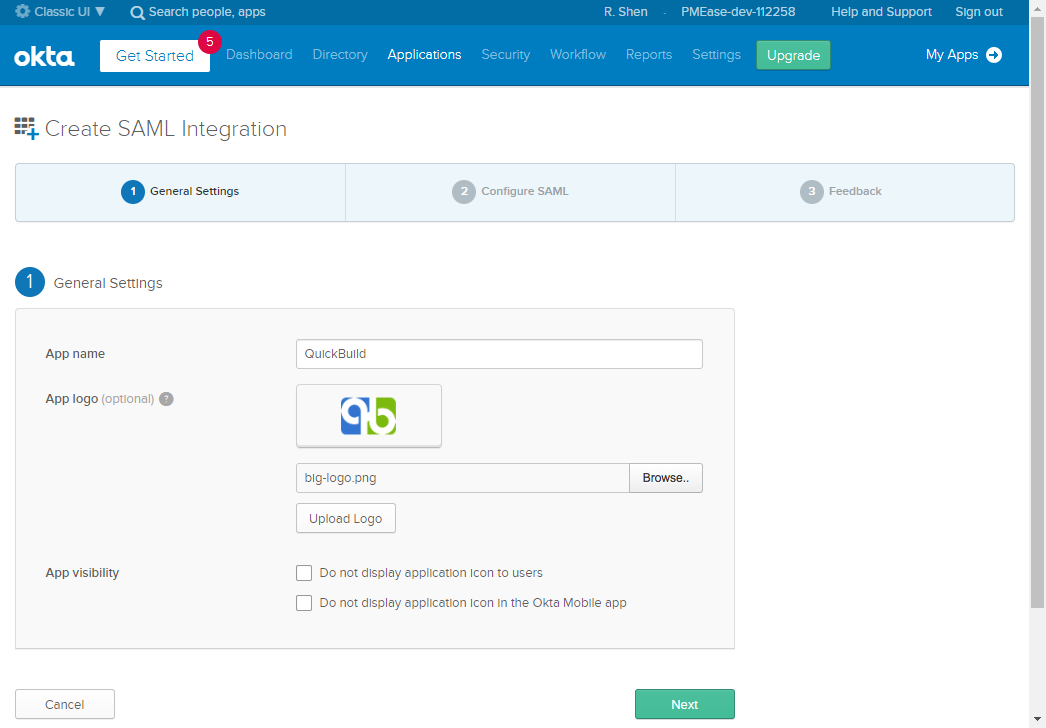
- Fill in general setting of the application, and click next:
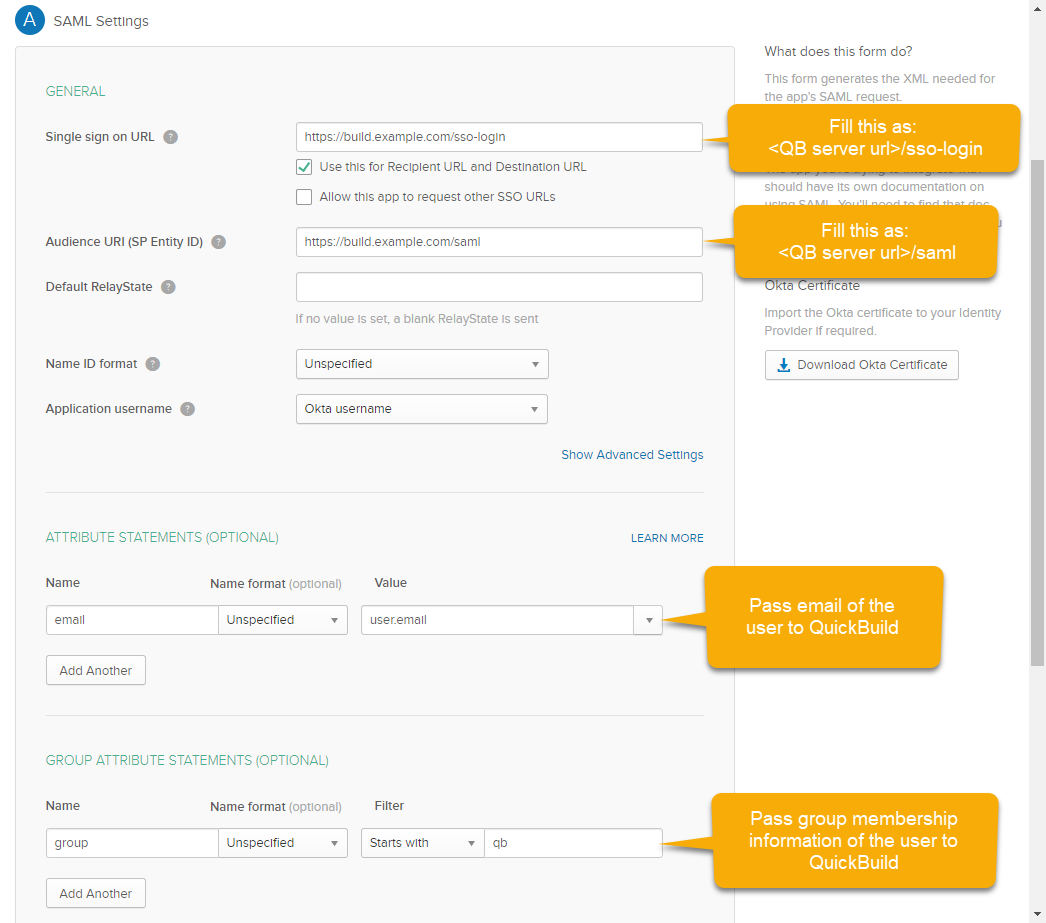
- Fill in SAML settings as below and click next:
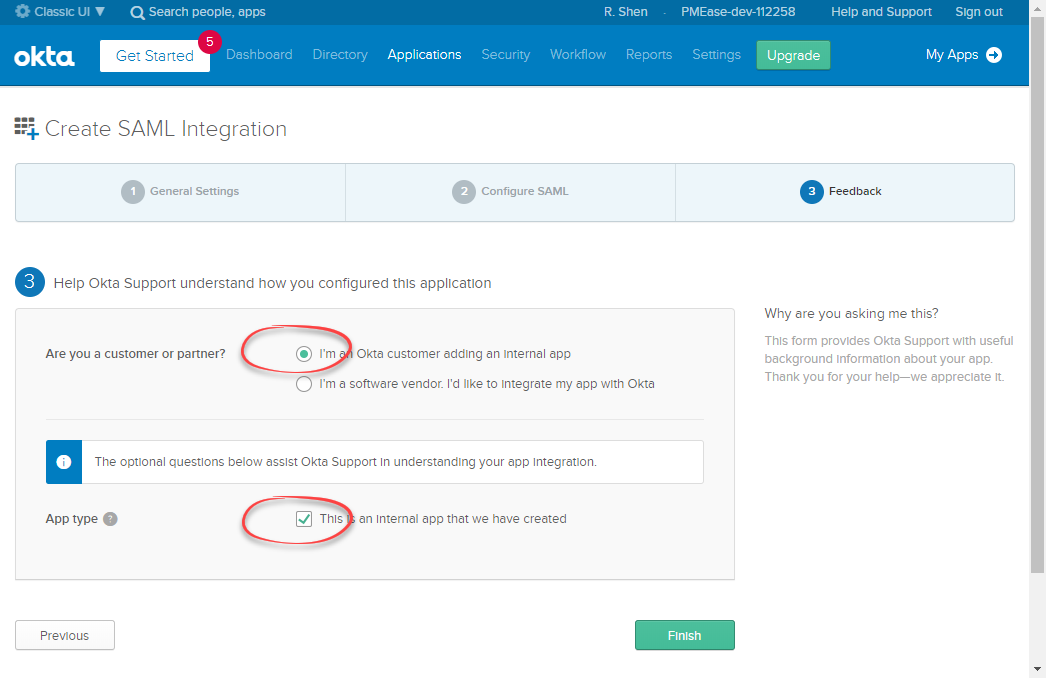
- Select appropriate options in feedback page and click finish:
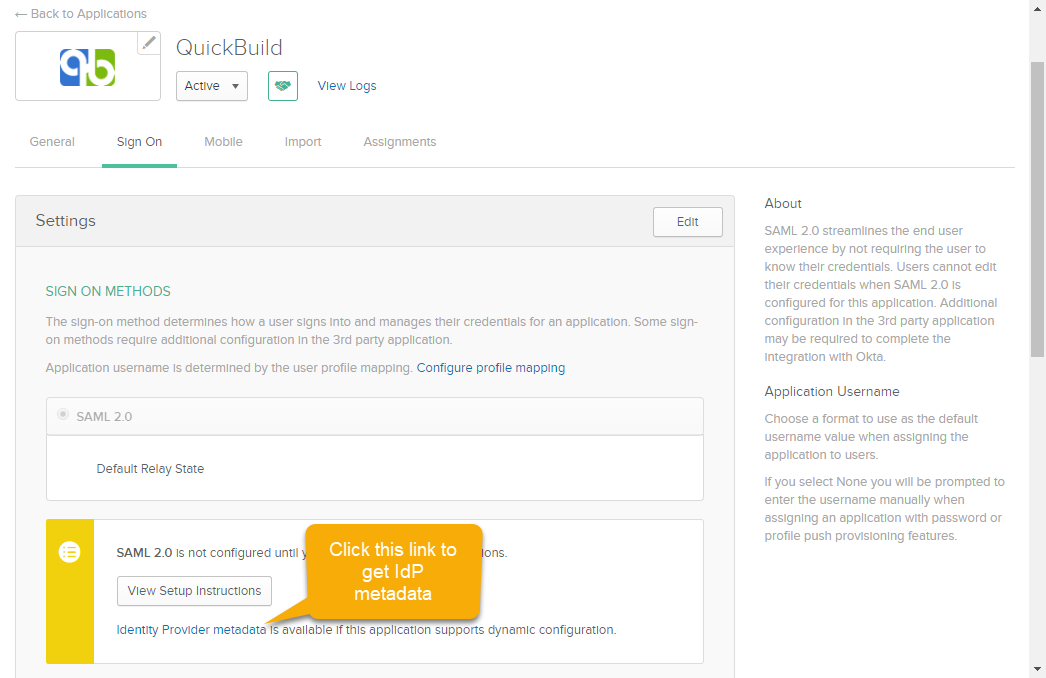
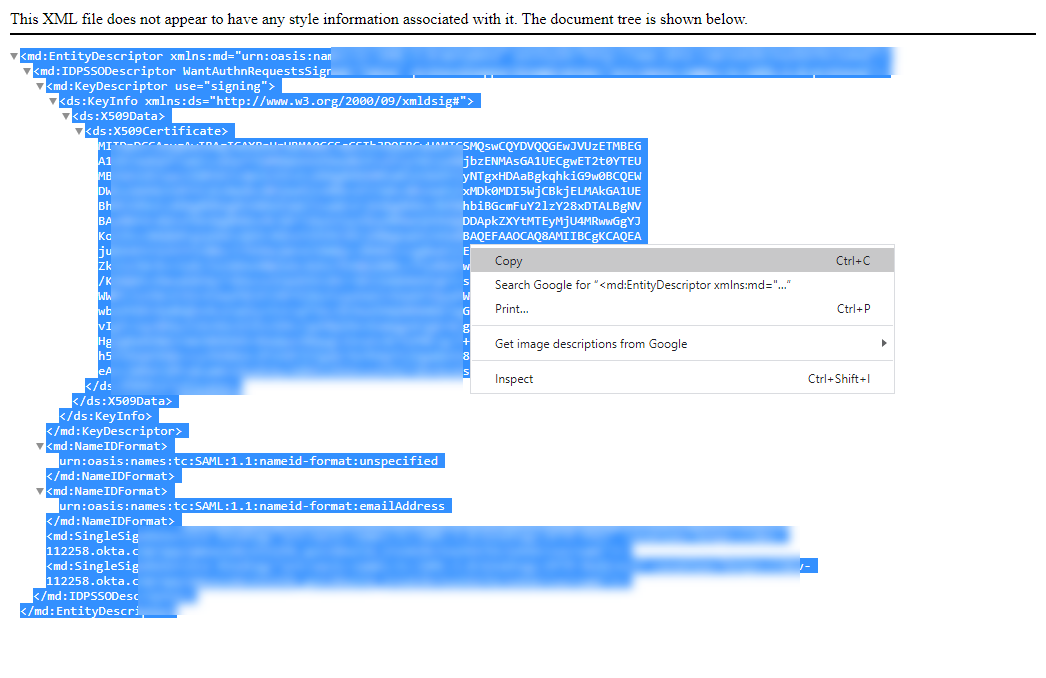
- Okta will bring you to the Sign On tab after clicking finish button above. From here, click the Identity Provider Metadata link to show the content:
- Copy the metadata XML into clipboard
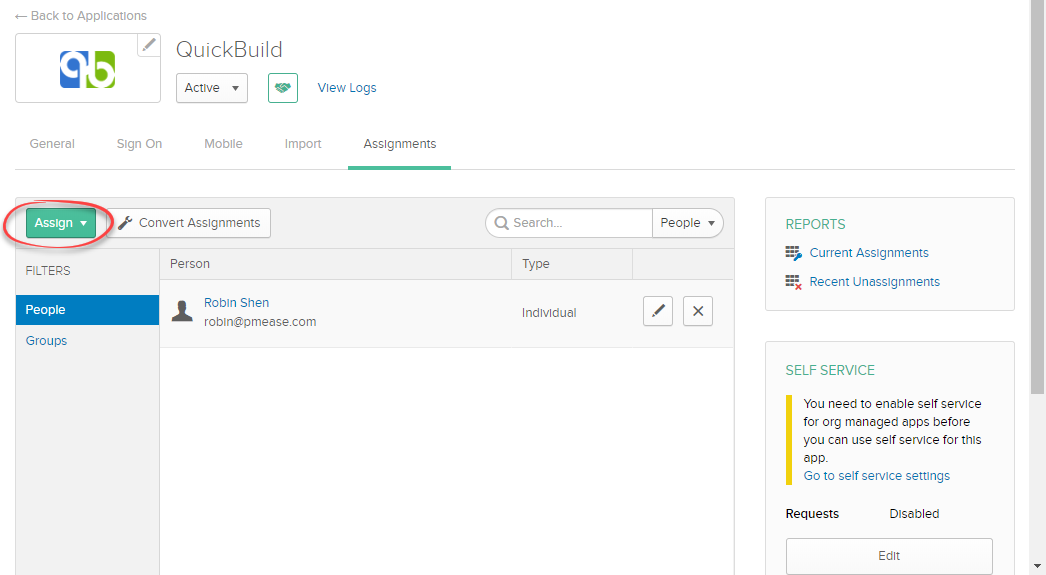
- Navigate to Assignments tab and make sure you've been assigned to the application:
- Now login to QuickBuild, navigate to page Administration/Security Setting and select SSO via SAML2 as SSO Provider. Paste the copied metadata from above step into field IdP Metadata
- Run below commands to generate SP private key and self-signed SP certificate:
openssl req -x509 -nodes -days 365 -newkey rsa:4096 -keyout sp-key.pem -out sp-cert.crt
openssl pkcs8 -topk8 -inform PEM -outform PEM -nocrypt -in sp-key.pem -out sp-key-pkcs8.pem
Copy content of file sp-key-pkcs8.pem into field SP Private Key, and content of file sp-cert.crt into field SP Cert

For Okta SAML integration, SP cert is actually not used as it does not verify authentication request signature. However other SAML integrations may require you to upload the SP cert to verify the signature. - Specify email for field Email Attribute, and group for Group Names Attribute. Attributes specified here should be the same as you've specified at Okta side
- Specify a default group if necessary and save the setting
- Navigate to Group Management page and define groups with same name as we've defined in Okta, and assign appropriate permissions:

- Navigate to page Administration/System Setting, and make sure property Url to Access QuickBuild is specified as _https://build.example.com_
- Now logout and visit _https://build.example.com_ (make sure to visit the url specified in system setting), the sign in page should display a SSO login button

- Click this button and you will be taken to Okta site for authentication. If authenticated successfully, you will be logged into QuickBuild.
You can still login to QuickBuild with normal user/password without clicking the SSO button