view page history | view next version >>
In Quickbuild (from Version 2.0), if we want to publish reports, we need add a publish step. Below gives an example for publishing JUnit reports, for other reports supported by Quickbuild, they are almost the same.
Generate Reports
Quickbuild will not generate the original reports. Most of the reports should be generated by your build tools, such as Ant, Maven, NAnt, etc. In our example, we will generate JUnit by Ant, we will add a target in our build.xml:
<target name="junit" depends="compile">
    <property name="junit.report.dir" value="target/reports/test-reports"/>
    <mkdir dir="${junit.report.dir}" />
    <mkdir dir="${junit.report.dir}/test-out" />
    <record name="${junit.report.dir}/test-output.txt" append="no" action="start"/>

    <!-- NOTE: haltonfailure set to NO or else the Ant will failed -->
    <junit printsummary="yes" haltonfailure="no" fork="yes">
        <classpath refid="test.classpath"/>
        <formatter type="xml"/>
        <batchtest fork="yes" todir="${junit.report.dir}/test-out">
            <fileset dir="${test.home}">
                <include name="**/*Test.java"/>
                <exclude name="**/*AbstractTest.java"/>
            </fileset>
        </batchtest>
    </junit>

    <!-- junitreport is not required here, but we recommend to add this to speed up the later publish step -->
    <junitreport todir="${junit.report.dir}">
        <fileset dir="${junit.report.dir}/test-out">
	    <include name="TEST-*.xml"/>
	</fileset>
    </junitreport>
    <record name="${junit.report.dir}/test-output.txt" action="stop"/>
</target>
Here, we need notice that for most of the reports generation task, the 'haltonfailure' or something like this property should be set to no, or else the target for Ant or other build tools will stop. If we want to publish the full reports, it is recommended to set this kind of property to 'no'.
Now, we can test our build script from command line, and make sure the script can generate the test reports to directory $
Build and test in Quickbuild
In Quickbuild, now we will add a configuration for our project. After add the configuration, we will add some steps to build and test our project. The steps we added in Quickbuild may look like:
Unable to render embedded object: File (steps.png) not found.
First, we will use all default settings and fill in the required fields for those steps. The Publish JUnit Step may looks like:
Unable to render embedded object: File (junit_step1.png) not found.
Here, we only tell Quickbuild where to find the original reports by filling in field Report Files/Patterns. The directory we write here is the same as we specified in build.xml.
Ok, we can run the configuration now to see the results now. In my example, after running the configuration, we will find an overview section for JUnit will be displayed and a JUnit Report tab is also added on the left side:

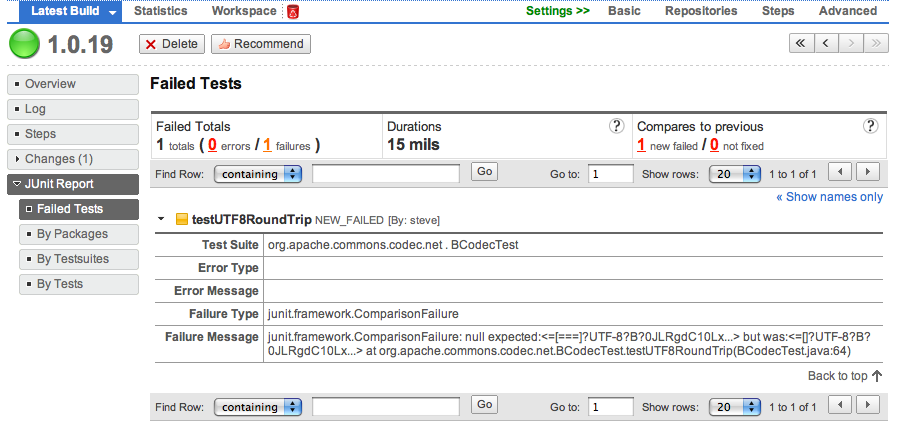
By clicking the 'JUnit Report' tab on the left side, four child tabs will be displayed:
Add Report Sets
Sometimes, we will run our tests on different platform to make sure our products can support all of them.